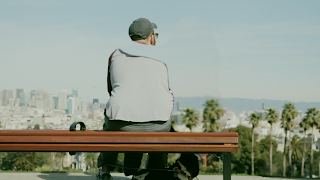
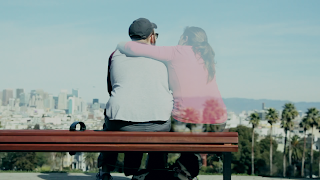
In this week's Tutorial we will be turning someone into a Ghostly Companion in "How to turn people into ghosts" using Blender 2.8 (this effect can also be done in Blender 2.79).
Check out the Preview here,
or
You can watch the Tutorial here.
First we will create a Mask around the person we wish to turn into a Ghost. I recommend taking more time with the masking then I did, your shots look much cleaner with better Masks.
 Then in the compositing, we can save time by Appending a "Super Node" that we created previously.
 Though if you have not created a Super Node you can either check out our previous blog post here, or follow along in the Video where we create a quick Super Node to add a fake background (in place of the ghost).
 Then with the help of a couple of mix nodes we can add our Ghostly Companion.
 When downloading clips like this, it's often hard to get something perfect.
Download the Video here.
For example, we could also replicate the missing part of the man (that being, part of his right shoulder, his neck and some parts of his ears).
If I was creating this shot for myself and had direction over the scene. I would prefer to shoot the man on the bench, alone. Then shoot the woman in front of a Green screen.
This would ensure that we see all of the man through the ghost.
We could recreate most of the man in the Node Editor, and a couple of masks. We would need to add a fake body, neck and ears, before the Ghost effect. From the tests I tried, they looked okay but I hope you guys get the idea and are able to find use for this effect.
If you do create something be sure to post a link in our Facebook group!.
Thanks for watching!.

No comments:
Post a Comment