31 August, 2020

Blender Python Tutorial: Property Subtypes (and Password Protection)


In this video, we will be taking a look at some different Subtypes for our Properties. 


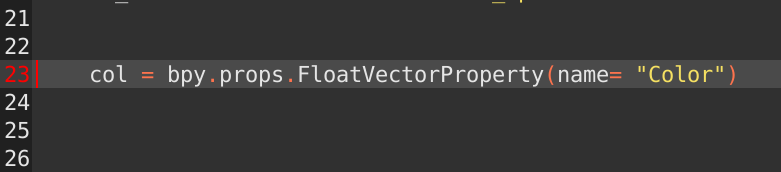
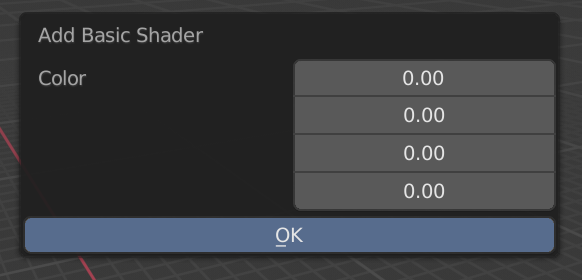
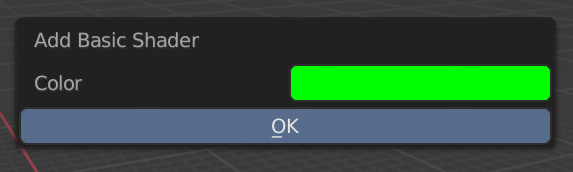
Simply by changing the subtype of a property can change how the property is displayed on a panel or dialog box. In the previous video you may have seen how we changed a simple Float Vector Property into a Color (with alpha) input. 


If you want to follow along, you can download the template script here. It's a simple script with a Property Group, an Operator and a Panel. Alternatively, you can download the finished Script here.

Within custom properties we can define many different arguments such as the Name, description and so on. In this example we want to focus one one argument in particular and that is the subype. Using the Python Console we can not only find what arguments we can use but also what subtypes and more. 

You will find that some subtypes are useful for certain situations and depending on what option or value you want to display, the choice will vary.

Thanks to the String Subtype, I also wanted to show you a quick way to password protect your operations or options. You could take it further and add more features to it.

I hope you find this video helpful and as always, thanks for watching!..

17 August, 2020

Blender Python Tutorial: How to add an Enumerator to a Panel & Create a Property Group


In this video, we will be looking at adding an Enumerator and other Custom Properties onto a Panel. We will also be creating a Property Group which will contain a number of custom Properties we can define.

We will need a couple of things before we can get started. We will need a basic script that contains a Panel, operator and a registration section. You can use Blenders Templates to add a panel and operator (though if you want to follow along you can download the starting script here or you can download the Finished Script here).

We can then add our Property Group and fill it full of custom Properties. In this example we will be adding a String (so the user can enter text), a Float (so the user can enter a number value) and we will also be adding an Enumerator (dropdown). 

You can add more (or different) properties to suit your needs. 


 In this example we will be creating a String, Float and Enumerator Property.


After we have created the Custom Properties, we then need to display them on our Panel.


 In order for this to work we need to create a reference called 'mytool'. 


This reference is only possible thanks to the Pointer Property.


We need to register my_tool and define the Property Group that we want to use. We also need to delete the my_tool when it is no longer needed as shown below. 


 Like any other class, we need to add the Class Name to the Classes List.


Though in this case we need to add the MyProperties to the beginning of the list.


10 August, 2020

Blender Python Tutorial: How to Create and Assign a Shader Material


In this video, we will be taking a look at not only creating a Shader Material but also assigning that material to the currently selected object.

We can create something simple or something complex but both ways will be using an Operator. We first create a panel where our button will live. Then we can create a simple operator, that when pressed will create and assign a Shader Material to the Selected Object.

If you want the user to have any options, we can easily upgrade the simple operator and make it become a popup dialog box. We can then giver the user control over any setting or option. In this example we want the user to be able to set the color before adding the Shader.

We have covered popup dialog boxes in other posts and videos so be sure to check them out!. Though in this example we will be taking a look at the FloatVectorProperty.

In code that would be:

The Float Vector Property usually looks like this:
If we tried to use this in it's current state, it would kick up an error because as we know to change a Color Value we actually need four values. We need the Red, Green, Blue and Alpha Values.


We can just define the Size and set it to 4 to add another value:

Which would look like this:


Now we have this, it doesn't look great. In fact it looks terrible, we want the user to have a good and quick experience.

So let's change this FloatVector slightly by defining the Sub type.

And that would turn the Float vector into something much more appealing:

If you want to set the default color (here you can see I set the default to green), you just need to define the default like so:

If you want to download the template script you can download the script here.

I hope you found this video helpful and as always thanks for reading!.