19 July, 2021

Game Development: The Throne (Dev Log 002)


Since the Last post I have been working on a couple of things. Some smaller items that needed finishing and I have Added the Decrees and Upgrades.

Decrees: These are Edicts the player can Pass to improve the Kingdom. They will become available as the story progresses. They cost upfront Gold to set up, then each week the player will receive +gold or Boost to Troops.


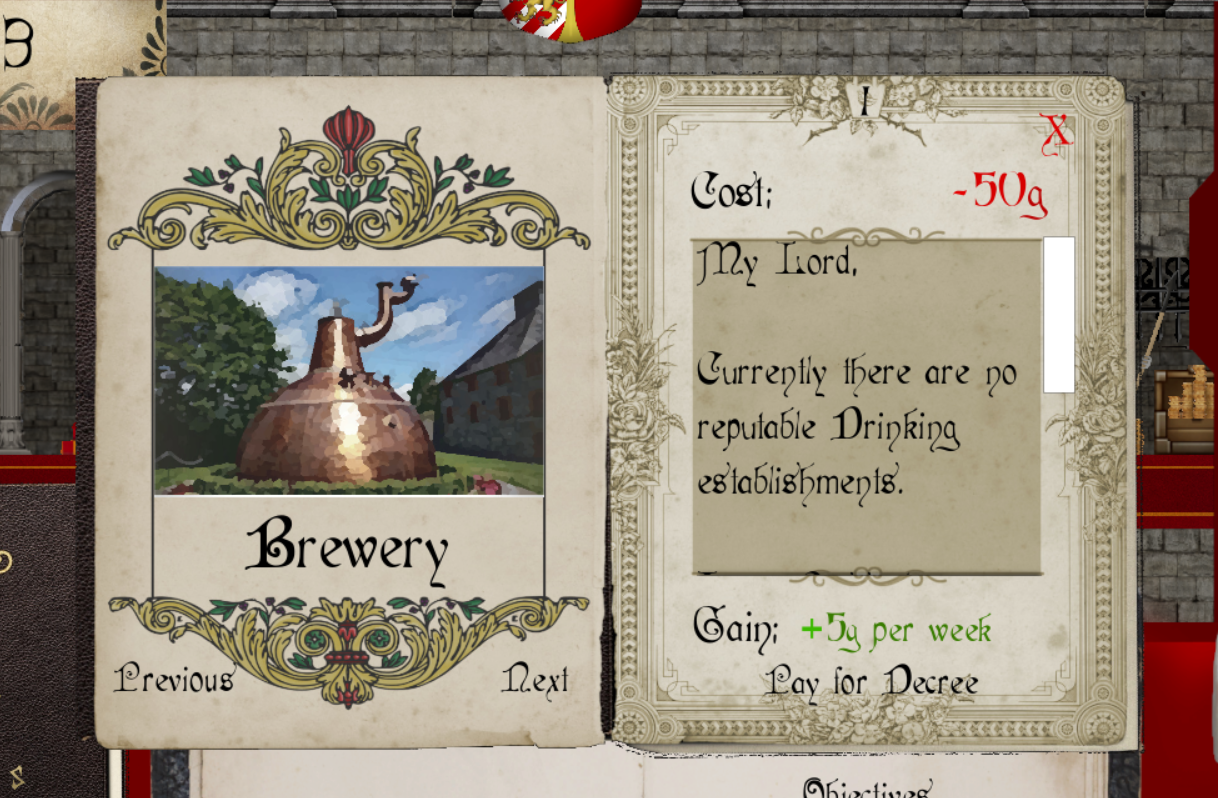
There are currently 7 Decrees to Pass: 

  • Brewery - Improve the Drinking Establishments and gain gold. 
  • Education - With Education comes a better quality of life, and more Taxes!. 
  • Port - Construct a Central Port and Benefit from more Trade Income. 
  • Prison Reform - Not all Criminals are dangerous, they deserve better living conditions.
  • Roads - Constructing Paved Roads to ease the burden of daily travel.
  • Barracks Training - Renovate the Old Barracks and begin to Train the Troops.
  • Knighthood Program - Establish a Knighthood program and Design the Order. (Choose the Name, Style and Behavior)


Upgrades: These are additional bonuses to the Decrees the Player has Passed. Purchasing these Upgrades will give greater bonuses to their respected categories and may help with the End.

There are currently 6 Upgrades to Purchase:

  • Brewery Production - Increase Production and Export for more Trade Income. 
  • Carriageways - Improving the Roads for Carriages will improve Trade Income. 
  • Higher Education - With Higher Education, comes greater Taxes. 
  • Advanced Training - Train Elite Troops.
  • Admiralty Board - Establishing an Admiralty board will help Rule the Waves. 
  • Prison Reform (Parole) - Establish a Parole System for criminals deemed less dangerous. They can choose to serve in the Royal Army to reduce their sentence. 


*Note: These Numbers may change throughout the creation of this game. Cost's and Gains for everything will be balanced before release*

Saving/Loading - All the Variables have been added to the Save / Load system.

The Economy also reflects the Decrees and Upgrades. Cost's are deducted and Gains are Awarded.

Characters - Completed Sprites (Walk and Idle)

  • Lady Pellem (of Silverton)


15 July, 2021

Blender Tutorial: How to Make Particles Follow a Path


In this Video, we will be taking a look at Particles and how we can make them follow a path we define.

As many of you know by know (and are probably sick of hearing about), I am creating a 2D Game and in which, I needed to create some kind of visual of sending a mass of troops from one place to another. You can check out the Throne Game here.

Creating a Particle System to fit my need was a pretty easy task with Blender. 


We can start by aligning the Camera. First we need to jump to the Front View by pressing num-pad 1. Then Hold ctrl alt and num-pad 0


Then using the Image as Planes Add-on (that comes built-in) we can add our map or background image. 

If you do not see the "Image As Planes" option, you just need to activate the Add-on. 

Go to Edit > Preferences > Add-ons > Search for Image As Planes and Activate the Add-on.


The Map I used was created in a previous tutorial which can be found here


Patreon Subscribers can download the Map .blend file or the other Files here.


Once we have our map in place we need a few more things. Unlike about 99.9% of my tutorials we are actually going to USE the Default Cube!. By changing the Shader Color and Type, the Default Cube becomes the object that will be emitted in the Particle System.

Talking of which, we will need an object for the Particle System, let's add another Cube (the Default Cube is on fire today) and use that for the Particle Emitter. We do need to make some changes such as setting the Start and End, The Lifetime of the Particles and more!. Keep in mind these values will always change depending on your scene.

I wanted a clump of men (or Default Cubes I guess), to suddenly appear and march off to their destination. Though we can get many different variations depending on what effect we are looking for.

We will also need a Curve which will be our "Path" for the Particles to follow. You can use a Bezier Curve if you want but I prefer to add a plane. With the Plane, delete all but one Vert.


There is an easier way to get a single Vertex and to do that you just need to activate another built-in add-on called Extra Objects. 


 Once Activated, you can now add a whole bunch of new objects, but we are looking for Single Vertex.

Shift+A > Mesh > Single Vert. Not only will it add a Single Vertex but it place you inside Edit mode also. 


With our Single Vert we can now extrude a path going from one place to another. When we are happy with the Path we just need to convert it to a Curve and we can head over to the Physics Properties Tab.


By adding a Force-field Physics Property and playing around with a couple of settings we can easily get the effect I was aiming for. 

Again, you can go crazy and play around with the values to get lots of interesting Variations.


Then when we are happy with it we can bake and Render. You can choose to Render it out as an Image sequence or as a Video.

I hope you found this video helpful and as always thanks for reading!.